Workstations and Thin Clients
Last updated Jul 24th 2015, RB.
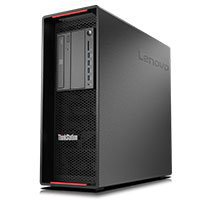
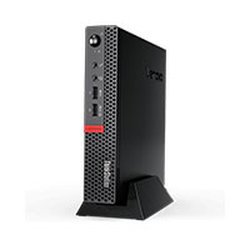
Two models of client are available. The thin-client is a small desktop device, while the workstation is a larger tower PC. The workstation has a more powerful CPU than the thin-client. The workstation is recommended for users who need to run local analysis regularly, or those who are developing GPU code.
|
|
|
Workstation - Lenovo P510 Xeon E5-1650 v4 (6 Cores) 32GB RAM Nvidia Quadro P2000 |
Thin Client - Lenovo P320 Tiny i5-7500T (4 Cores) 16GB RAM Nvidia Quadro P600 |
What are the advantages of using one of these systems?
-
Both systems run Redhat 6. This is the same environment running on the cluster. All software available on the BioHPC cluster can be used on the clients, which are ideal for developing and testing code and analysis workflows.
-
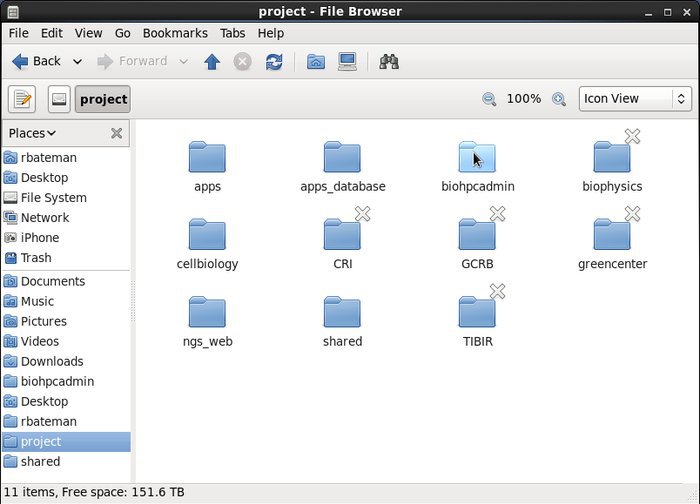
They have direct access to the cluster's file system over the campus 10GB network. You can access your home, project and other shared directories within the GUI interface. This makes transfering files to other BioHPC users fast and easy.
-
BioHPC users have roaming profiles. This means your documents and settings will are available on all BioHPC systems.
-
Workstations and thin clients come with Bash and preconfigured to test scripts before submitting them to the cluster.
-
Access to Windows applications is possible via a Virtual Machine which can easily installed easily.
Profile Settings
The following are basic settings that you'll want to make to your profile.
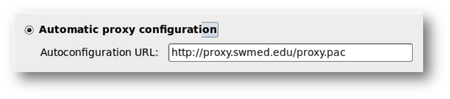
- Enter the UTSW proxy address to allow Internet access outside of the UTSW network.
System>Preferences>Proxy Setting
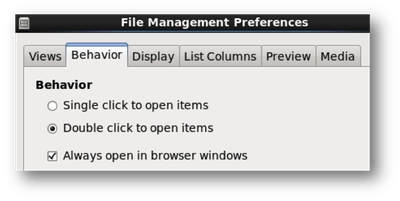
- Prevent folders from opening in seperate windows.
Edit > Preferences > Click on the “Behavior” tab and check “Always open in browser windows”
-
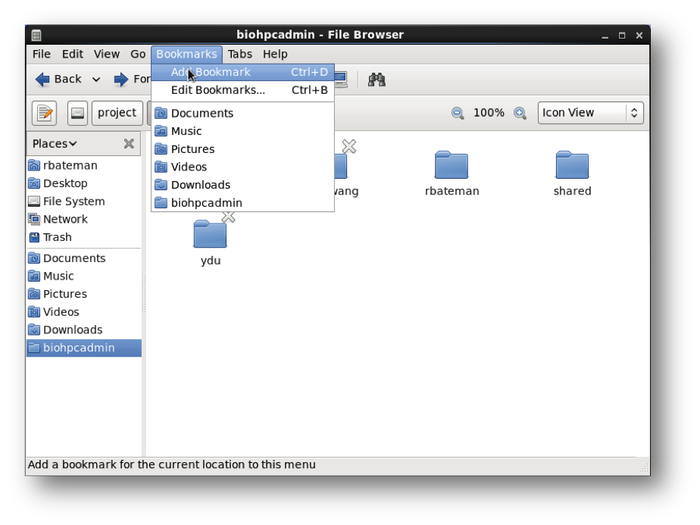
Create directory bookmarks to quickly access the project and work folders.
Bookmarks>Add Bookmark
Keyboard Shortcuts
You can change shortcuts under
System > Preferences > Keyboard Shortcuts
- Print screen – Prt Sc
- Launch terminal – Disabled by default but you can change to Ctrl+T
- Paste within terminal – Ctrl+Shift+V
System Utilities
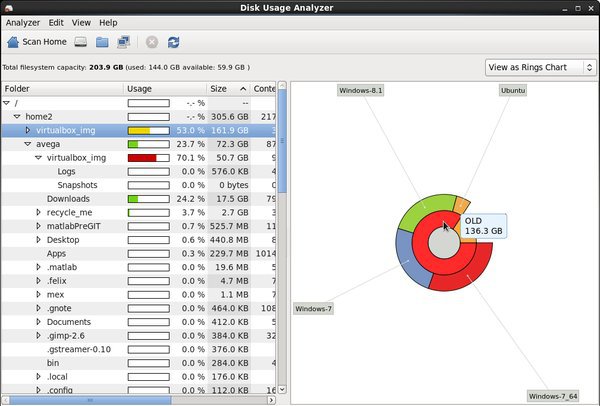
- Disk Usage Analyzer
Applications > System Tools > Disk Usage Analyzer
This utility shows the status of your storage quotas. It lets you visualize the amount of data in each directory. Remember to empty the trash if you need space.
- System Monitor
Applications > System Tools > System Monitor
The Resources tab in this utility shows the load on the CPU and memory. This is useful for monitoring system resources when testing code on a workstation.

Modules
Modules are used to deploy multiple versions of different software tools.
See what modules are available
View loaded modules
Load a module
Remove a module
Applications
Run Code Locally
Workstations and thin clients come with Bash and SBGrid preconfigured to test scripts before submitting them to the cluster. The example script below compares two data sets and outputs an image to display the results.
Run a script with Bash
Copyright 1984-2013 The MathWorks, Inc.
R2013a (8.1.0.604) 64-bit (glnxa64)
February 15, 2013
To get started, type one of these: helpwin, helpdesk, or demo.
For product information, visit www.mathworks.com.
%%%%%%%%%%%%%%%%%%%%%%%%%%%%%%%%%%%%%%%%%%%%%%%%%%%%%%%%%%
This is the per site results for the 3 wells of the plate
for feature: Straightness of filament (for each filament)
user 0m3.841s
sys 0m0.291s
Check the Output Folder
$ ls
FeatureDots_1-persite.jpg
Run Code on the Cluster
You can submit jobs to the cluster using sbatch instead of bash. The following is the same example script as used above.
Submit a job to with the sbatch command
Check the queue with the squeue command
Check the output folder
$ ls
FeatureDots 1-persite.jpg
Remote GUI and GPU Sessions
If you need to visually interact with your data you can run a Graphical User Interface (GUI) or Graphical Processing Unit (GPU) session on the cluster. For example, you could open a remote GUI session to work with large images that require more memory than is available on your workstation. A remote GPU session executes on a node with an Nvidia GPU card. These nodes offer hardware rendering as opposed to the software rendering on non-GPU nodes.
To begin one of these sessions use the remoteGUI or remoteGPU command. Then, use cat remoteGUI.txt to display the port number for your session.
Submitted batch job 63672
[rbateman@biohpcws083 ~]$ cat remoteGUI.txt
UTSW BioHPC remoteGUI
---------------------
Running on node(s) Nucleus015
All required binaries found.
Set job memory limit to 95% of node RAM.
Started VNC Server with PID 14558
Started SSH port forwarding with PID 14569
Compute Node Port: 5909
Login Node Port: 30159
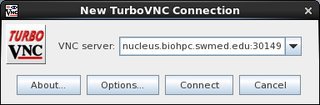
To connect via VNC client: nucleus.biohpc.swmed.edu:30149
=======================================================================
To connect to the session, open TurboVNC (Applications>Accessories>TurboVNCViewer), and enter nucleus.biohpc.swmed.edu:port# and you password.
Virtual Machines
The BioHPC VirtualBox Image Manager allows you to copy a preconfigured Windows 8.1 VM to your local machine. This can be used to access Microsoft Office and other Windows applications. Please let us know if you need to use other versions of Windows or Linux.
To open the program click on Applications>BioHPC>BioHPC Virtual Machine Manager.
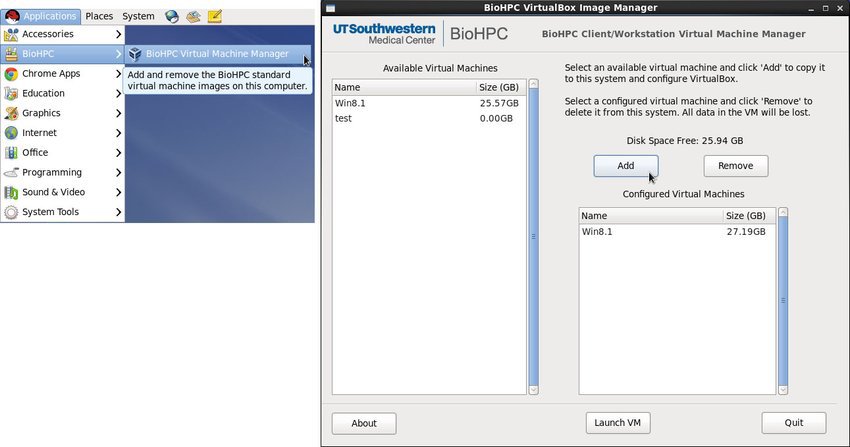
When the application opens click on an available VM and click add to copy it to your computer's ~/shared directory. This could take up to 15 minutes depending on your network connection. The size of the ~/shared directory is limited to 364GB on Workstations and 50GB on thin clients.
Once you have copied the VM, you can control it with the Virtual Box Manager.
Applications>System Tools>Virtual Box Manager
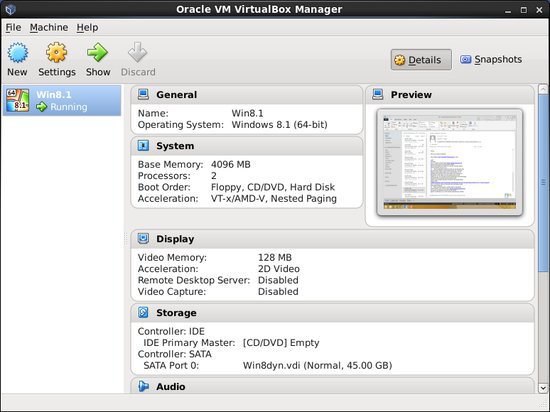
The Windows virtual drive is 40GB, but you can increase the size with the following command.
For example, to increae the 40GB virtual drive to 45GB you would use the following command.
Limitations
Downtime
- Downtime for system upgrades will be announced two weeks in advance. During downtime you will not be able to login to workstations or thin clients.
Incompatible Applications
- OpenMPI, RDMA, GPU Direct will only work on the cluster. Connect to Nucleus via SSH to submit these jobs.